

Our Guide to Night Photography
Night photography is an art form that allows us to capture the ethereal beauty of the world after dark. From stunning cityscapes and starry skies to moody landscapes and captivating light trails, the possibilities are endless when it comes to night photography. However, mastering this unique genre requires a solid understanding of the techniques and equipment involved. In this blog post, we will provide a comprehensive guide to help you navigate the challenges and unlock the magic of night photography.
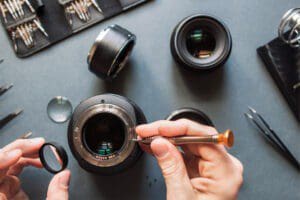
Gear and Equipment
Before diving into the world of night photography, it’s essential to have the right gear. Here are some equipment recommendations to ensure you’re well-prepared:
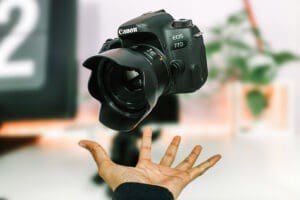
a) Camera: Choose a camera with manual mode capabilities and good low-light performance.
b) Lens: Wide-angle lenses are popular for night photography, allowing you to capture expansive scenes and more light.
c) Tripod: A sturdy tripod is indispensable for long exposures and minimizing camera shake.
d) Remote Shutter Release: A remote shutter release or cable release helps prevent camera shake when triggering the shutter.
e) Flashlight: A small flashlight will aid in navigating the dark and adjusting camera settings.
Mastering Exposure
Achieving the correct exposure in night photography can be challenging due to the limited light available. Here are some key tips:
a) Use Manual Mode: Take control of your camera settings by shooting in manual mode.
b) Long Exposure: Experiment with long exposure times to capture light trails, starry skies, and smooth water effects.
c) ISO Settings: Start with a low ISO (e.g., ISO 100) to reduce noise, then gradually increase it if necessary.
d) Aperture: Select a wide aperture (e.g., f/2.8) to maximize the amount of light entering the camera.
e) Exposure Bracketing: Use exposure bracketing to capture multiple exposures and merge them later for a balanced result.
Working with Light
Understanding and manipulating light is crucial in night photography. Here’s how you can make the most of available light sources:
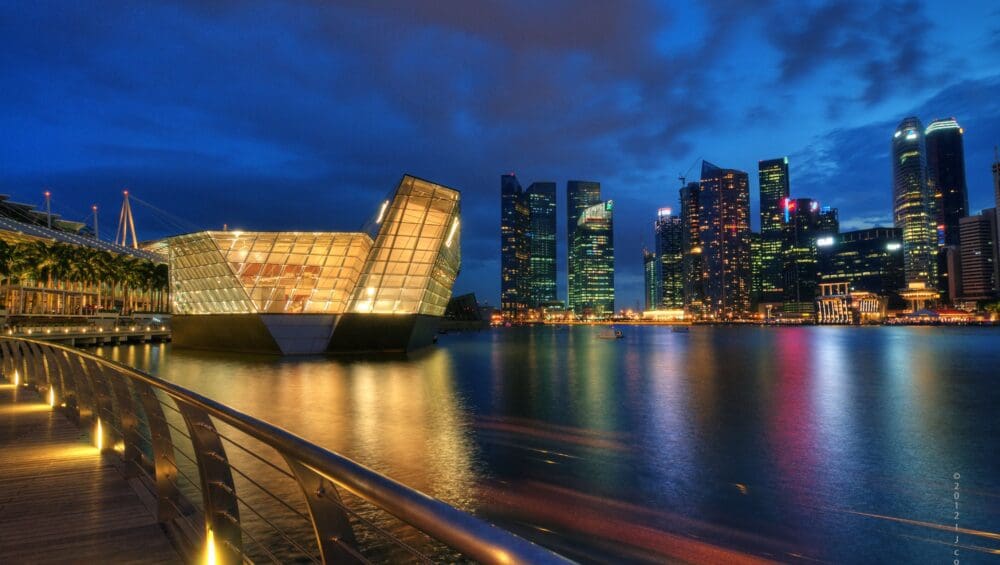
a) Cityscapes: Capture stunning cityscapes by utilizing the ambient light from buildings and streetlights. Experiment with different exposures to achieve the desired effect.
b) Starry Skies: To photograph stars, find a location away from light pollution, use a wide-angle lens with a large aperture, and set a long exposure time.
c) Light Painting: Create mesmerizing images by using a flashlight or other light sources to paint or illuminate specific subjects during long exposures.
d) Silhouettes: Experiment with capturing silhouettes against the night sky by exposing for the bright background and allowing the subjects to appear dark.
Post-Processing
Post-processing plays a crucial role in enhancing your night photographs. Consider the following techniques:
a) Noise Reduction: Use software tools to reduce noise and improve the overall image quality.
b) Adjustments: Tweak exposure, contrast, and white balance to enhance the mood and impact of your images.
c) Sharpening: Apply selective sharpening to bring out the details in your photographs without overdoing it.
d) HDR Blending: Merge multiple exposures using HDR software to create a well-balanced final image with enhanced dynamic range.
Night photography offers a world of possibilities, enabling us to capture breath-taking scenes that are often hidden in darkness. By understanding the equipment, mastering exposure techniques, working with available light, and post-processing, you can unlock the magic of night photography. Remember, practice is key to refining your skills and developing your unique style. So, grab your camera, venture into the night, and start exploring the incredible realm of night photography. With dedication and perseverance, you’ll capture stunning images that evoke the enchantment of the nocturnal world.
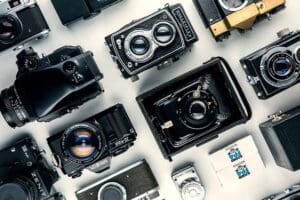
If it’s cameras your looking for or maybe lenses Wessex Photos has all the gear you need to star capturing the wonders of the night.


